

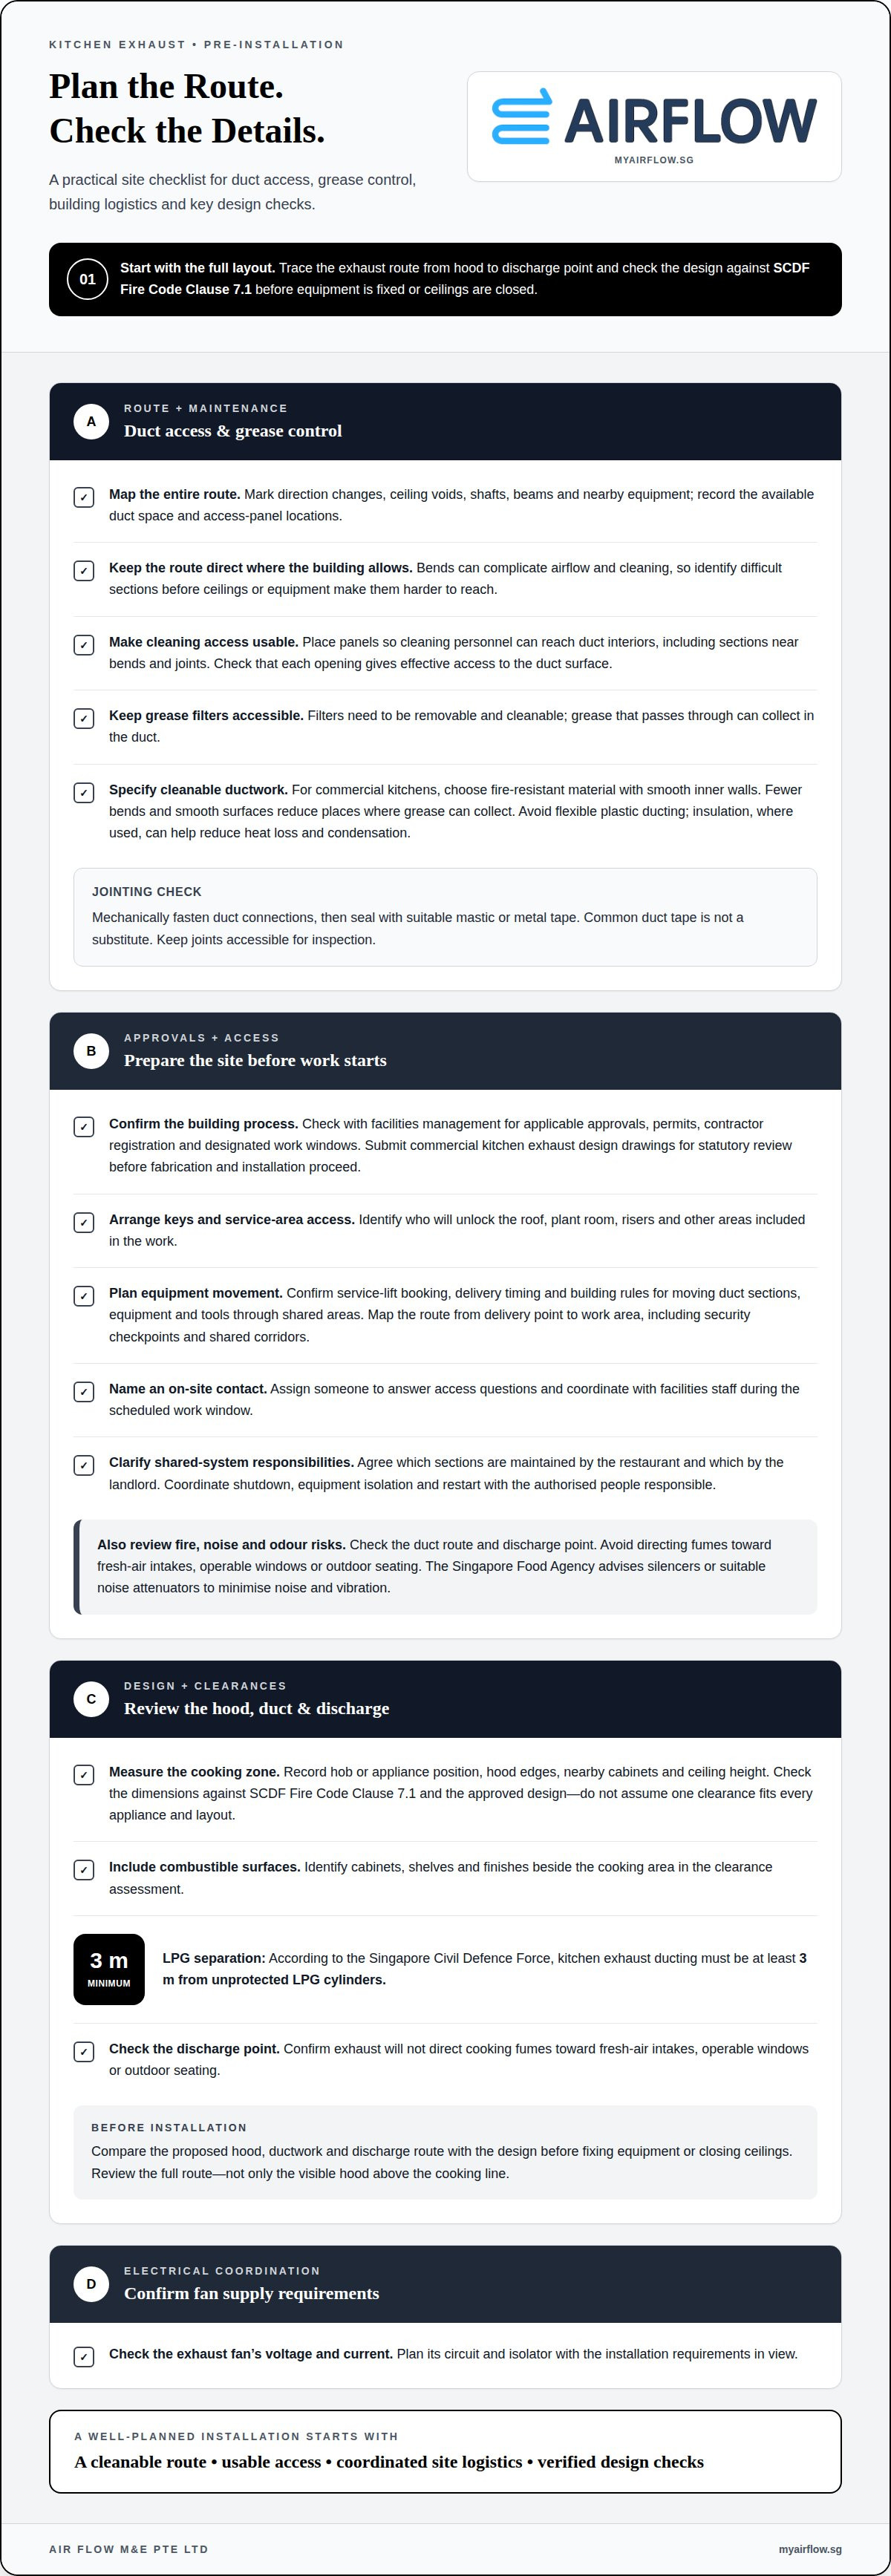
Compliance starts with the layout, not just the hood. In Singapore, a pre-installation checklist for kitchen exhaust should cover hood, duct and fan design, safe access for cleaning, and practical site arrangements. Check the design against SCDF Fire Code Clause 7.1, which governs kitchen exhaust system construction and clearances.
A smooth installation takes more than selecting equipment. Plan duct routes for cleaning access and grease control, and coordinate building access and work timing before installation starts. This pre-installation checklist for kitchen exhaust covers duct access, grease prevention, site logistics and key design checks. Use it to spot issues early and make installation planning more practical.
Key Takeaways
- Plan duct routes and cleaning access before installation to make grease removal and ongoing maintenance more practical.
- Coordinate building approvals, keys, service lifts and access windows early to reduce site delays.
- Check hood, duct and fan placement against SCDF Fire Code Clause 7.1; according to the Singapore Civil Defence Force, kitchen exhaust ducting must be at least 3 m from unprotected LPG cylinders.
- Confirm the exhaust fan’s voltage and current, and plan its circuit and isolator with the installation requirements in view.
Duct access and grease accumulation prevention
Trace the route from the hood to the discharge point before installation. Mark direction changes, ceiling voids, shafts, beams and nearby equipment on the site plan. Bends can complicate airflow and cleaning, so keep the route direct where the building layout allows. Record the space available for ductwork and access panels.
What site measurements and access checks should be completed before kitchen exhaust installation? Measure the hood position, duct route and clearances around structural obstacles. Then identify where the duct can be reached for inspection and cleaning, including access to ceiling voids, risers and plant areas along the route.
Use these checks to plan grease control and maintenance access:
- Allow cleaning access: Place access panels where they let cleaning personnel reach the duct interior, including sections near bends and joints.
- Check panel openings: Size each opening to allow effective cleaning, rather than locating a panel that cannot provide access to the duct surface.
- Include filters: Keep grease filters accessible for removal and cleaning, since grease that passes the filters can collect in the duct.
- Review the full route: Identify sections that could become difficult to inspect after ceilings or equipment are installed.
For commercial kitchens, choose fire-resistant duct materials with smooth inner walls. Smooth surfaces and fewer bends reduce places where grease can collect and make cleaning more practical. Avoid flexible plastic ducting for a kitchen exhaust fan. Insulation, where used, can help reduce heat loss and condensation.
Seal duct joints carefully to prevent leaks. Mechanically fasten connections before sealing them with suitable mastic or metal tape. Common duct tape is not a substitute. Keep each joint accessible for inspection. A clear route, secure connections and usable access panels help staff carry out routine checks and support thorough duct cleaning.
Arranging building approvals, keys and service lifts
Coordinate building access and approvals with the facilities team before installation. In Singapore malls, hotels and managed buildings, exhaust work may require advance approval, a permit, contractor registration or a designated access window. Confirm the applicable process and schedule before fabrication and installation begin. Submit commercial kitchen exhaust design drawings for statutory review before fabrication and installation proceed.
What fire safety, noise and odour-control risks should be checked before installation? Review the proposed duct route and discharge point for fire hazards. Ensure fumes will not be directed toward fresh-air intakes, operable windows or outdoor seating. The Singapore Food Agency advises installing silencers or suitable noise attenuators to minimise noise and vibration.
Coordinate these practical site arrangements before work starts:
- Confirm building permissions: Record required approvals, permits, contractor registration steps and the approved work window with facilities management.
- Arrange keys and access: Identify who will unlock the roof, plant room, risers or other service areas included in the installation.
- Reserve the service lift: Confirm lift booking, delivery timing and any building rules for moving duct sections, equipment or tools through shared areas.
- Name an on-site contact: Assign someone who can answer access questions and coordinate with facilities staff during the scheduled work window.
Access planning also helps control safety hazards. A locked roof door or unavailable plant room can prevent teams from reaching the planned installation area. Restricted lift access can disrupt equipment movement and the agreed schedule. Set out the route from the delivery point to the work area, including any security checkpoints or shared corridors.
For a shared exhaust system, agree with building management which sections are the restaurant’s maintenance responsibility and which are managed by the landlord. Coordinate shutdown, equipment isolation and restart with the authorised people responsible for those tasks. Clarify cleaning and installation access, especially when work affects other tenants or shared facilities. These checks align building rules, safe access and the installation plan.
SCDF Fire Code Clause 7.1 construction and clearances
Use SCDF Fire Code Clause 7.1 as a key reference when reviewing kitchen exhaust construction and clearances. Compare the proposed hood, ductwork and discharge route with the design before fixing equipment or closing ceilings. The check should cover the full route, not only the visible hood above the cooking line.
What clearances are required between a kitchen exhaust hood, hob, cabinets, and ceiling? Measure the hood’s position against the hob, nearby cabinet surfaces and ceiling, then check those dimensions against SCDF Fire Code Clause 7.1 and the approved design. Don’t assume one clearance suits every appliance and layout. If you are also planning surrounding millwork, Kitchen Renovations Perfected offers useful guidance on choosing cabinet materials that hold up well near cooking areas.
Include these checks in the site review:
- Measure the cooking zone: Record the hob or appliance position, hood edges, nearby cabinets and ceiling height on the installation drawing.
- Review combustible surfaces: Identify cabinets, shelves or finishes beside the cooking area and include them in the clearance assessment.
- Check LPG separation: According to the Singapore Civil Defence Force, kitchen exhaust ducting must be at least 3 m from unprotected LPG cylinders.
- Review the discharge point: Confirm exhaust won’t direct cooking fumes toward fresh-air intakes, operable windows or outdoor seating.
Clear the work area before installation. Move food, portable appliances, utensils and storage away from the hood and ductwork route. For example, shift a trolley away from the hood footprint and clear the floor beneath the planned duct run. This gives installers room to position components and reduces obstacles around the cooking line.
Check construction details against the proposed design. Commercial kitchen exhaust ductwork should use fire-resistant materials, remain separate from other ducts and allow access for cleaning. Review the route for changes that may affect clearances, such as a beam or cabinet added after the drawing was prepared. Mark differences before work proceeds. For wider kitchen planning and full-scale construction where ventilation must align with custom cabinetry and layout specifications, resources like delmarkitchenpro.com highlight the value of detailed early coordination. A final walk-through of the hood, hob, cabinets, ceiling and LPG cylinder locations can reveal layout conflicts before installation.
What electrical supply, circuit, and isolator are required for a kitchen exhaust fan?
Confirm the fan’s electrical requirements before selecting the supply, circuit and isolator. No single supply specification suits every kitchen exhaust fan. The fan’s voltage and current, shown in its equipment details, inform the electrical plan. Match those requirements to the site’s available supply before installation begins.
Include these checks in the electrical preparation:
- Record fan details: Note the model, voltage and current for the selected exhaust motor, and share them with the electrical professional.
- Check the supply: Compare the fan requirements with the available site supply and identify any mismatch before equipment is installed.
- Plan the circuit: Confirm how the fan will connect, including whether it uses a fixed connection or a cord and plug.
- Locate the isolator: Agree on an accessible position that suits the fan location and the planned operating arrangement.
A cord-and-plug-connected range hood should have a dedicated branch circuit rather than sharing one with other loads. For a hardwired commercial exhaust fan, the circuit arrangement should reflect the fan’s electrical requirements and the site’s installation plan. Do not assume a nearby kitchen outlet is suitable simply because it is close to the hood.
Check the route between the electrical supply, control point, isolator and motor. Note whether the motor is on a roof or exterior wall, and determine how its connection will be accessed. Keep electrical components clear of the planned duct route and other installation work. Mark the intended isolation point on the site drawings so the installer and operator can identify it.
Technical electrical components should be installed by a professional, not handled as a do-it-yourself task. Before work proceeds, align the fan’s voltage and current, circuit arrangement and isolator position with the installation plan. For support with a commercial exhaust motor installation, discuss the fan installation requirements.
Air Flow M&E Pte
Air Flow M&E Pte Ltd can turn your site checks into a practical commercial kitchen exhaust installation plan. The team can help when the proposed hood, motor or duct route needs to fit your kitchen layout, or when an existing system needs an addition or alteration. Services include commercial kitchen exhaust system A&A, hood and exhaust motor installation, and custom-fitted ductwork.
Clear measurements, access details and building requirements give the installation plan a practical starting point. They help align exhaust components with the kitchen’s physical constraints and compliance considerations. To plan a new installation or system change, contact Air Flow M&E Pte Ltd to discuss your project.
Move from planning to a coordinated installation
Use your pre-installation checklist for kitchen exhaust as a working plan, not a document to file away. Keep the latest drawings, site measurements and building access arrangements together so everyone involved works from the same information. If the kitchen layout or equipment changes, update the plan before installation proceeds. This keeps design decisions aligned with actual site conditions.
For a new commercial kitchen exhaust system or changes to an existing one, Air Flow M&E Pte Ltd provides A&A services, commercial kitchen hood installation and commercial exhaust motor installation. Discuss how the work can fit your kitchen and site requirements.
Contact Air Flow M&E Pte Ltd for advice about your installation plans. With the preparation in place, you can move forward with a clearer path to a well-coordinated project.
Frequently Asked Questions
How Should Hoods, Ducts, and Fans Be Designed for Compliance?
Design the hood, ductwork and fan as one system, then compare the proposed layout with SCDF Fire Code Clause 7.1. The hood should suit the cooking equipment, while the fan and duct route must work together to extract fumes and remain maintainable. Before fabrication, drawings should show the complete duct path, discharge location, access points and nearby site constraints.
What Records Do Inspectors Actually Check?
Keep maintenance records that identify the service performed and include supporting evidence. Useful documents include before-and-after photographs, a signed service certificate and a waste disposal receipt or invoice. A cleaning report should record the service date, equipment and areas cleaned, inaccessible sections, and recommended follow-up work. SFA requires kitchen exhaust systems to be degreased at least once every 12 months.
What should be included in a kitchen exhaust pre-installation checklist?
A pre-installation checklist for a kitchen exhaust system should bring together the project’s design, site and coordination details. Include the equipment layout, duct route, discharge point, electrical requirements, building access arrangements and relevant review drawings. Record site constraints, such as beams or shared service areas, so the installation plan reflects the actual kitchen rather than assumptions.
What are the Singapore requirements for kitchen exhaust ducting and discharge outlets?
Plan commercial kitchen exhaust ducting as an independent route that discharges outdoors. The outlet should avoid directing cooking fumes and particulates toward fresh-air intakes, operable windows or outdoor seating. For example, review the outlet’s position against nearby openings and the building’s air intakes on the site plan. The selected route should also allow inspection and cleaning after installation.
Do I need HDB, condo MCST, or building management approval to install a kitchen exhaust in Singapore?
For a commercial kitchen in a managed building, check its approval process with the facilities or management team before work starts. Requirements may include advance approval, a permit, contractor registration or a defined work window. Commercial kitchen exhaust design drawings should undergo statutory review before fabrication and installation proceed. Coordinate access and approvals early to align the project with site procedures.
How should kitchen exhaust duct routes, length, bends, and duct materials be planned?
Plan the duct route around the building layout while keeping it direct and accessible for inspection. The required length depends on the hood location, structural obstacles and discharge point, so show these details on the drawings rather than relying on a generic route. Commercial ductwork should use fire-resistant material, have smooth inner walls and include as few bends as the site layout permits.


